Tuning’s Alternate Routes
Avoid Load Development’s Roadblocks
feature By: Jason Stanley | February, 25

The situation that Toby and I could not account for involved unexpected detours. Luckily, we did not encounter any on our trip. Many load development sessions are also straightforward. However, how does our path change when roadblocks are encountered? The situations where our normal tuning path leads to an unanticipated dead end. In these situations, savvy reloaders have alternate routes they can take.
I invite you on a tuning journey. Although my base map will be outlined, the goal is not to override anyone’s existing path. Rather, highlight alternate routes that can be used to avoid frustrating roadblocks. These alternate routes have been paved from a conglomerate of information gained from decades of tuning both competition and hunting rifles.
Precision Ladder
The general path for most handloaders starts with powder charge, moves to seating depth and then completes with neck tension. The location of the rifle on the Precision Ladder will highlight specific routes inside each of these components and help determine realistic goals during load development.
On the ladder’s first rung are “out-of-the-box” factory hunting rifles that shoot factory ammunition. For these rifles, a reasonable 100-yard group size would be one to two inches. Second rung rifles are essentially the same rifles, but with an increase in precision due to handloading. Most of these are hunting rifles, but there is an uprising of “factory-level” tournaments. Controlling the reloading components has the possibility of shrinking the groups to the .75- to 1-inch range. On the third rung are partially or mostly custom rifles finely tuned with handloads used for hunting or competition. Expect these rifles to shoot .25- to .75-inch knots. The sole purpose for rifles on the fourth rung (top of the ladder) is competition. These rifles are one hundred percent custom and tuned to shoot the smallest groups in the world. It is common for these rifles to aggregate under a quarter of an inch.
Phase I: Measurements and Setup
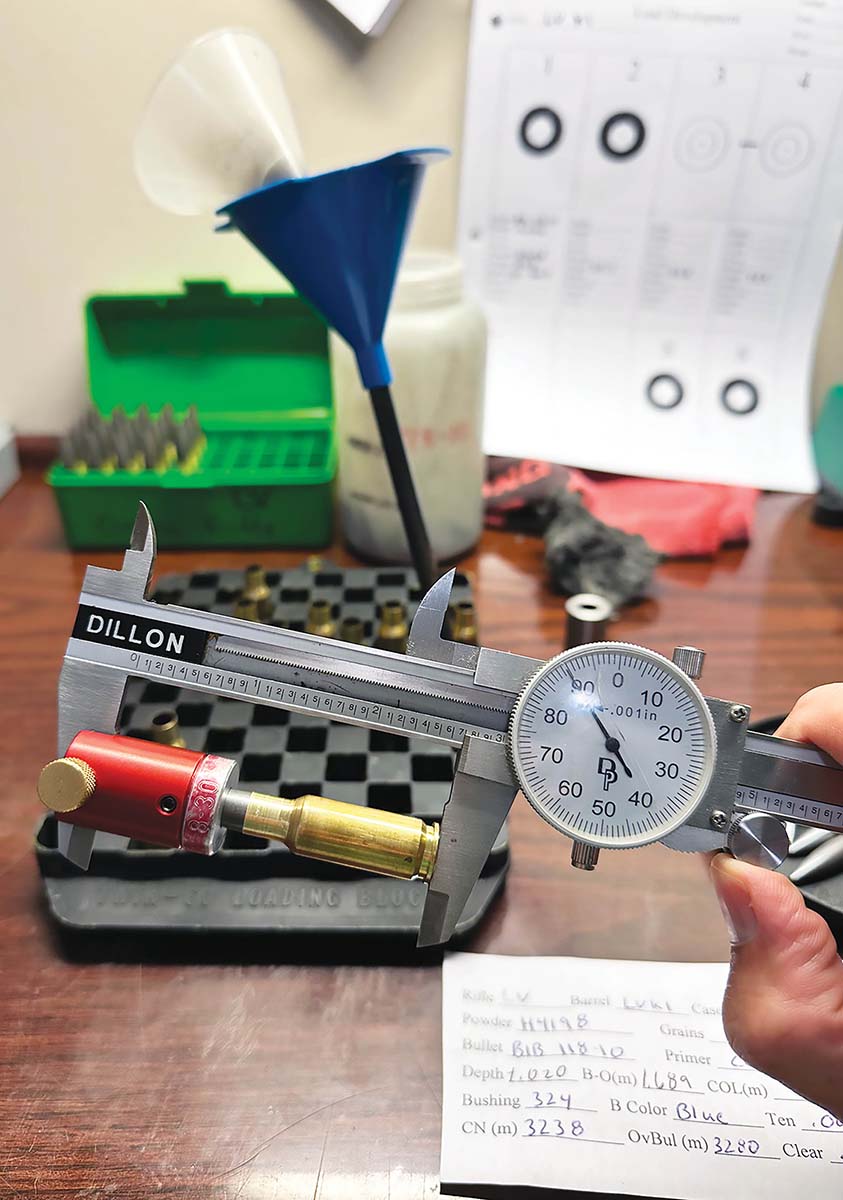
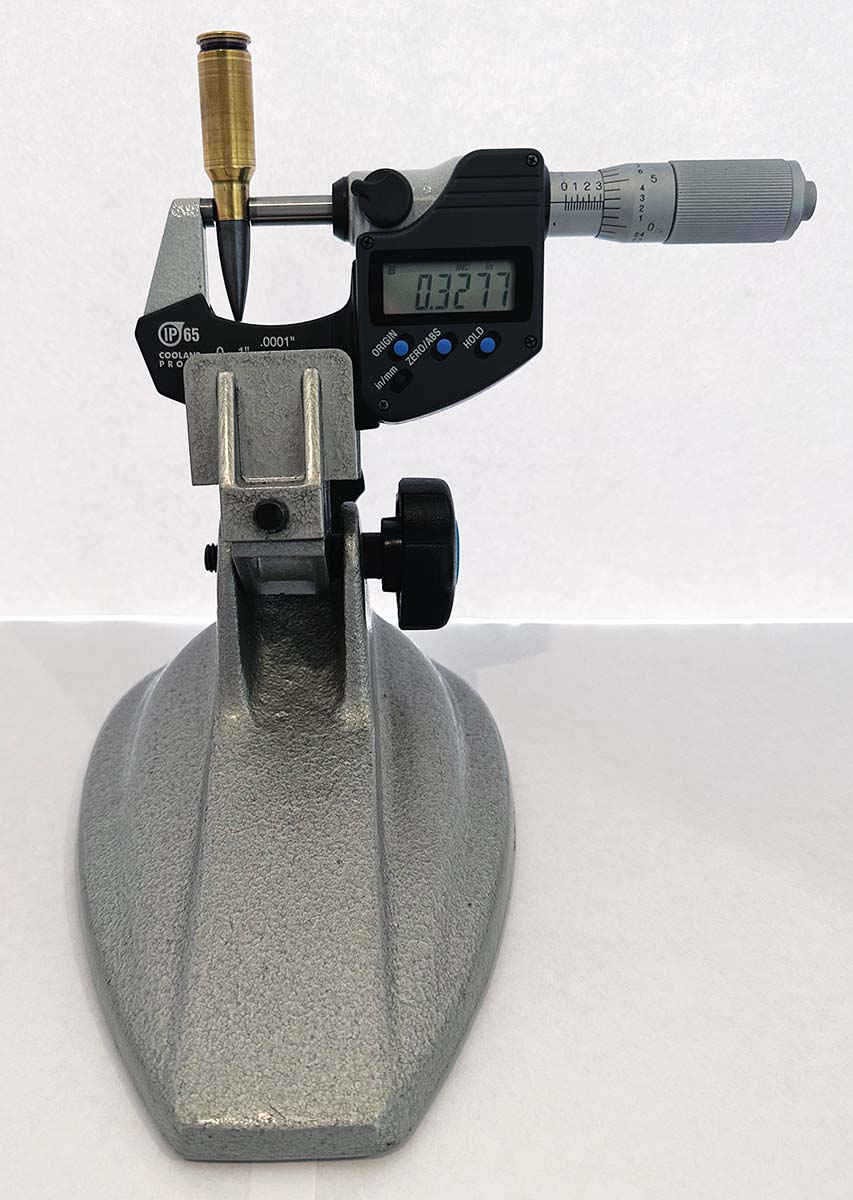
Regardless of placement on the ladder, an initial step in the load development journey is finding two useful measurements. One is the bullet “0.000” seating depth, commonly called the just touching point. The most accurate and precise location to measure this length is from the base of the case to where the ogive of the bullet initially touches the lands. The “0.000” mark is the baseline from which all seating depths are made.
The first alternate route is for rifles that use a magazine. A possible shortcut is to seat a bullet at the maximum length allowed by the magazine. Record the cartridge’s overall length. Load, then eject, the dummy round. If there are no landmarks on the bullet and the cartridge overall length (COL) measurement did not change, then this is the longest seating depth that can be used. If the COL does change and/or landmarks are noticed, then stay with your original route of determining the just touching point.
A toll road should be traveled for new rifles. The Phase I setup includes any initial brass work, barrel break-in and scope zeroing. The amount of brass work that gets done is largely dependent on the use of the rifle. For level two rifles, chamfering and deburring of new brass will be sufficient. Trimming, neck turning and fireforming may be required for rifles on higher rungs.
One can take full advantage of the set-up portion by performing velocity/pressure tests for different powders while doing the otherwise mundane tasks. This data may provide hints to which powders will perform well in Phase II.
Phase II. Rough Tune Load Ladder
The first major fork in the tuning road is at Phase II. Save the components and barrel life by skipping to Phase III when there is trusted data proving a bullet/powder combination will work. Reliable data can come from many places, the most common being personal experience and other trusted reloaders.
Some of the more popular competition and hunting cartridges fit in this category. One of many examples would be the 30BR used in short-range score competitions. Many shooters are using 112- to 118-grain bullets propelled by a mid-34-grain charge of Hodgdon 4198 down a 1⁄17- or 1⁄18-twist barrel. No ladder testing is needed to prove this combination.
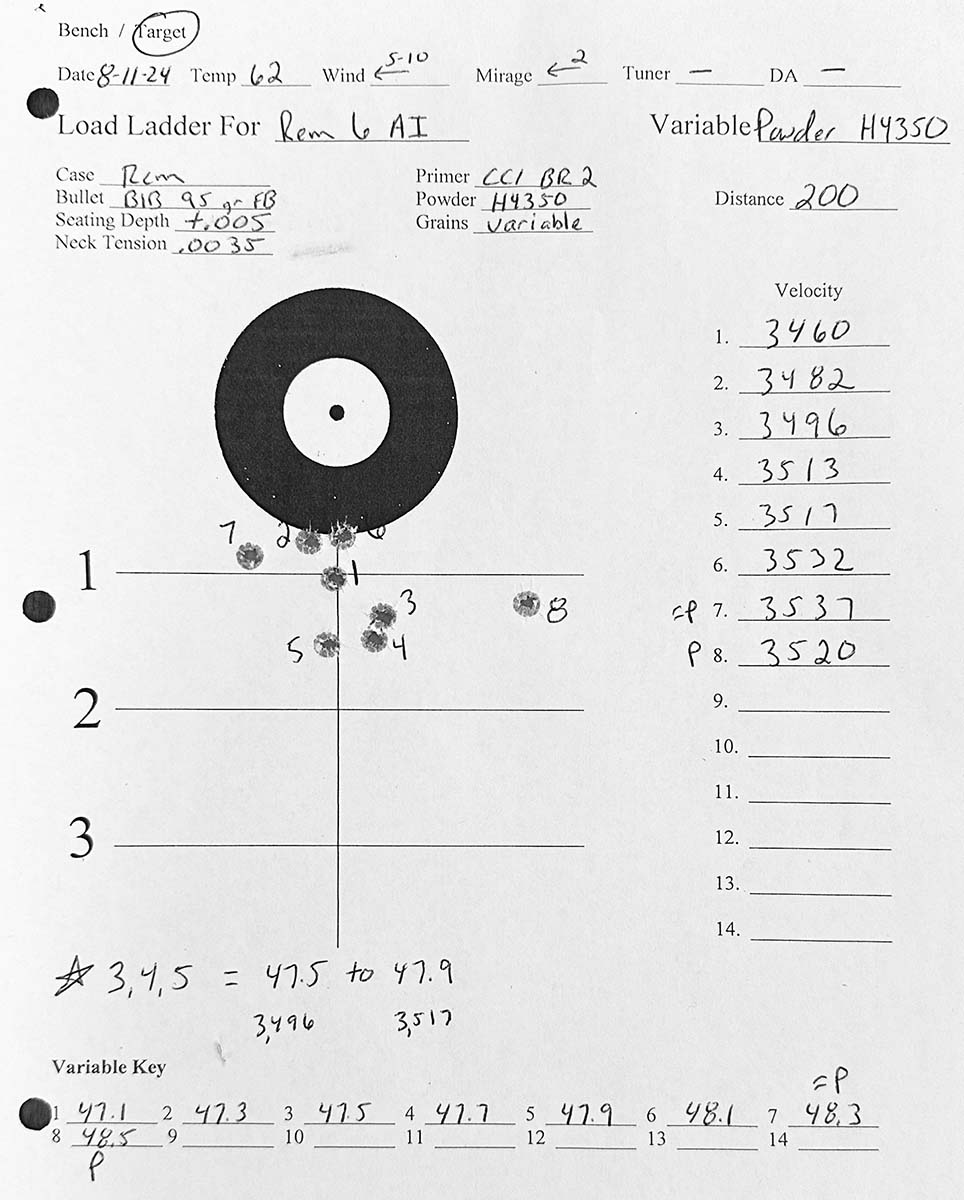
To ensure pressure issues are not encountered later in the tuning process, start the ladder with the highest neck tension and longest seating depth used with the rifle. Which lane you drive in depends on which rung of the Precision Ladder the rifle is on. Personally, this means starting with .004 inches of neck tension and +.025 jam for rifles used in competition. For hunting rifles, I use the same neck tension but drop the seating depth to +.005 inches of jam. From here, there is only one direction to go for both neck tension and seating depth in the following phases.
Preliminary data from Phase I can be used to decide which powder to try first. Beginning slightly south of the recommended charge weights, increase powder in succeeding cases by .2 grains for level two and three rifles and .1 grains for competition rifles. Record bullet impact and velocity for each shot on an identical target at the bench. Stop at the first sign of pressure.
A cluster-shaped group, usually composed of two to four bullets, will form when the bullet-powder combination wants to group. Combinations that perform favorably in both group and velocity move on to Phase II. If not, this portion of the drive is repeated with a different powder, bullet or both.
Phase III: Powder Charge Window
To fully capitalize on Phase III, the brass needs a tune-up. This is the part of the trip where all brass gets annealed, trimmed, chamfered and deburred. Cases used in competition get a little extra love by uniforming the primer pockets and flash holes.
The fine-tuning portion of the journey starts in Phase III. Typically, at one hundred yards, three to five shot groups are tested with varying powder charges. If you arrived at Phase III by taking the shortcut, then the charge data already exists to start the groups. If not, information from the load ladder will indicate initial powder charges. Neck tension and seating depth should be kept the same as the load ladder so as not to increase pressure.
Starting with the lowest charge from the cluster or trusted information, increase the powder charge by .1 grains in level four rifles and .2 grains for level two and three firearms. Stop once the top charge of the cluster is reached or pressure signs are encountered, whichever comes first.
The destination of Phase III is a range of powder charges that shoot well, not necessarily a single good group. Targets should indicate a chronological series of charges that shoot small, relative to the thresholds of the Precision Ladder. This range is called the powder charge tune window. Settle on the charge weight in the middle of the window. The larger the window, the more forgiveness there will be when the atmospheric conditions change. This window also provides a buffer for human and instrument errors while reloading.
Occasionally, even though the bullet/powder combination showed promise in the ladder, the rifle simply will not group. When all traditional roads seem blocked, a controversial yet component and time-saving alternate route is available. Two-shot groups might lead back to a familiar highway. Deuces do not prove, but rather disprove, powder charges. If two shots do not touch, then neither will three or five. Once two rounds are satisfactory, start over at the beginning of Phase III to confirm.

Phase IV: Seating Depth Window
The goal of Phase IV is to expose the seating depth tune window. This range will provide a safety net for eroding lands, different base to ogive bullet measurements and errors while bullet seating.
To “shine the brights” on the seating depth window, use the powder charge settled upon in Phase III with the same neck tension as before. Compare three- to five-round groups with receding bullet depths by .005 for competition and .010 for hunting cartridges. Again, look for the range of seating depths that shoot well. However, instead of picking in the middle of the window as in powder charge, hedge towards the longest COL. This will allow the most forgiveness for eroding lands.
When the normal seating depth adjustments are not producing favorable results, there is an alternate route for level two and three rifles. Save components by making changes in .025-inch increments. In some situations, these big changes will arrive at the destination faster.
An increasing number of benchrest competitors have a backup route ready. Earning a picture with fake wood or going home empty-handed is frequently measured in hundredths of an inch. The windows for this level of precision can be quite narrow. Many competitors will load at the tournament or use a tuner to keep the rifle in tune as the temperature changes.
The precision requirements for a grip-and-grin hunting photo are not nearly as demanding. Plus, hunters load their ammunition weeks, months or even years before the hunt. Therefore, wide powder charge and seating depth tune windows are always the correct route to take when tuning a hunting rifle.

Phase V: Neck Tension
Phase V is all about fine-tuning using neck tension. There typically is not enough data to look for trends, such as powder charge and seating depth. The only road available is to shoot groups with .0005 to .001 inch less neck tension than in the previous tests. If the groups shrink, keep reducing the neck tension until the groups open up or there is not sufficient tension to hold the bullets. The Big Three: powder charge, seating depth and neck tension, are now in the rearview mirror.
Phase VI: Primers
Phase VI is only for level four rifles. All other rifles take the shortcut by skipping to Phase VII. The extremely tight tolerances of custom rifles make it relatively common for them to verify differences in primers.
This may not be true for rifles on other rungs of the ladder. Admitting the differences are noticeable, the consumption of components and barrel life greatly outshine the meager gains from testing different primers. Additionally, once in the field, any slight benefit would be “left in the dust” due to shooting positions and conditions.
Phase VII: Confirmation
Close-range hunting shots cover up many tuning miscues. That luxury quickly fades away as the distance to the trophy animal increases.
In many competitions, the longest distance has a major influence on the Grand Aggregate winner. Therefore, regardless of the use of the rifle, the load confirming distance should correspond to the farthest shot that is realistically going to be taken.
When these extended-distance groups are not satisfactory, recheck earlier targets. Often, minuscule deviations from the correct path were taken due to misreading trends in the data. On the other hand, favorable groups confirm earlier choices, marking the end to the tuning journey. All components have been optimized for a particular rifle. The destination has been reached.
Adding alternate routes to our tuning map is similar to unexpectedly taking a detour on our favorite way home. Although troubling at first, the detour soon becomes as familiar as the original course. Alternate routes provide a layer of assurance that the destination will be reached before the journey even begins.
.jpg)


