
Mike’s Shootin’ Shack
Bullet Casting Start-Up Tips
column By: Mike Venturino - Photos by Yvonne Venturino | December, 23
m
Let’s assume a potential newcomer is enticed by the idea of being the master of his bullet supply as so many shooters were not during the COVID-19 shortages. The next step is to pick out a mould for it. For precision rifle shooting, get a quality single-cavity mould. For recreational shooting with vintage military rifles, lever guns, or even a favored hunting rifle, double-cavity moulds usually suffice. If plentiful handgun shooting is the goal, then triple- or four-cavity moulds are best, although I favor three-cavity versions. Moulds with six or eight cavities exist, but my experience with them is limited. Avoid pre-owned bullet moulds unless they come from a very experienced caster trusted by you. For comfort, use handles as long as they are compatible with a chosen mould. The last mould decision is; iron, brass or aluminum for block material. My favorites are in the same order.
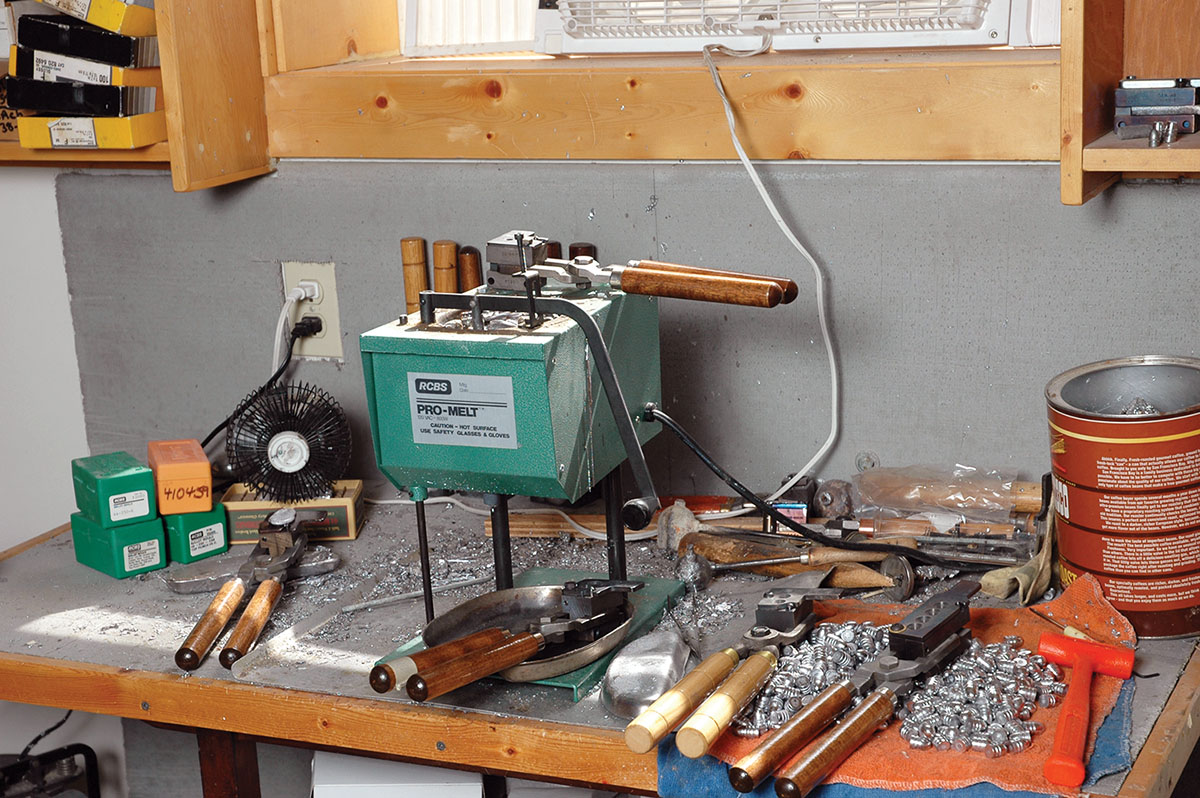
Cutting sprues with a gloved hand while they are still soft is a practice I’ve heard about, but my preference is to cut when the alloy has solidified more to prevent lead smears across mould block tops and under sprue plates. Usually, the recommended size for cutting sprues is about a 10-inch long piece of hardwood such as from a hammer handle. Such will serve for tens of thousands of casts – I know from doing so. A longtime friend and custom mould maker, Steve Brooks, introduced me to dead blow hammers. Those are rubber with lead in the head for weight and they are great for cutting with one solid blow.
However, recently I did run into one problem with a multiple cavity mould using hard Linotype alloy. After the sprue hardened, I pounded on it several times with my dead blow hammer without result. In frustration, I picked up my long disused hardwood handle and one whack cut the sprue. So, I’m still learning.
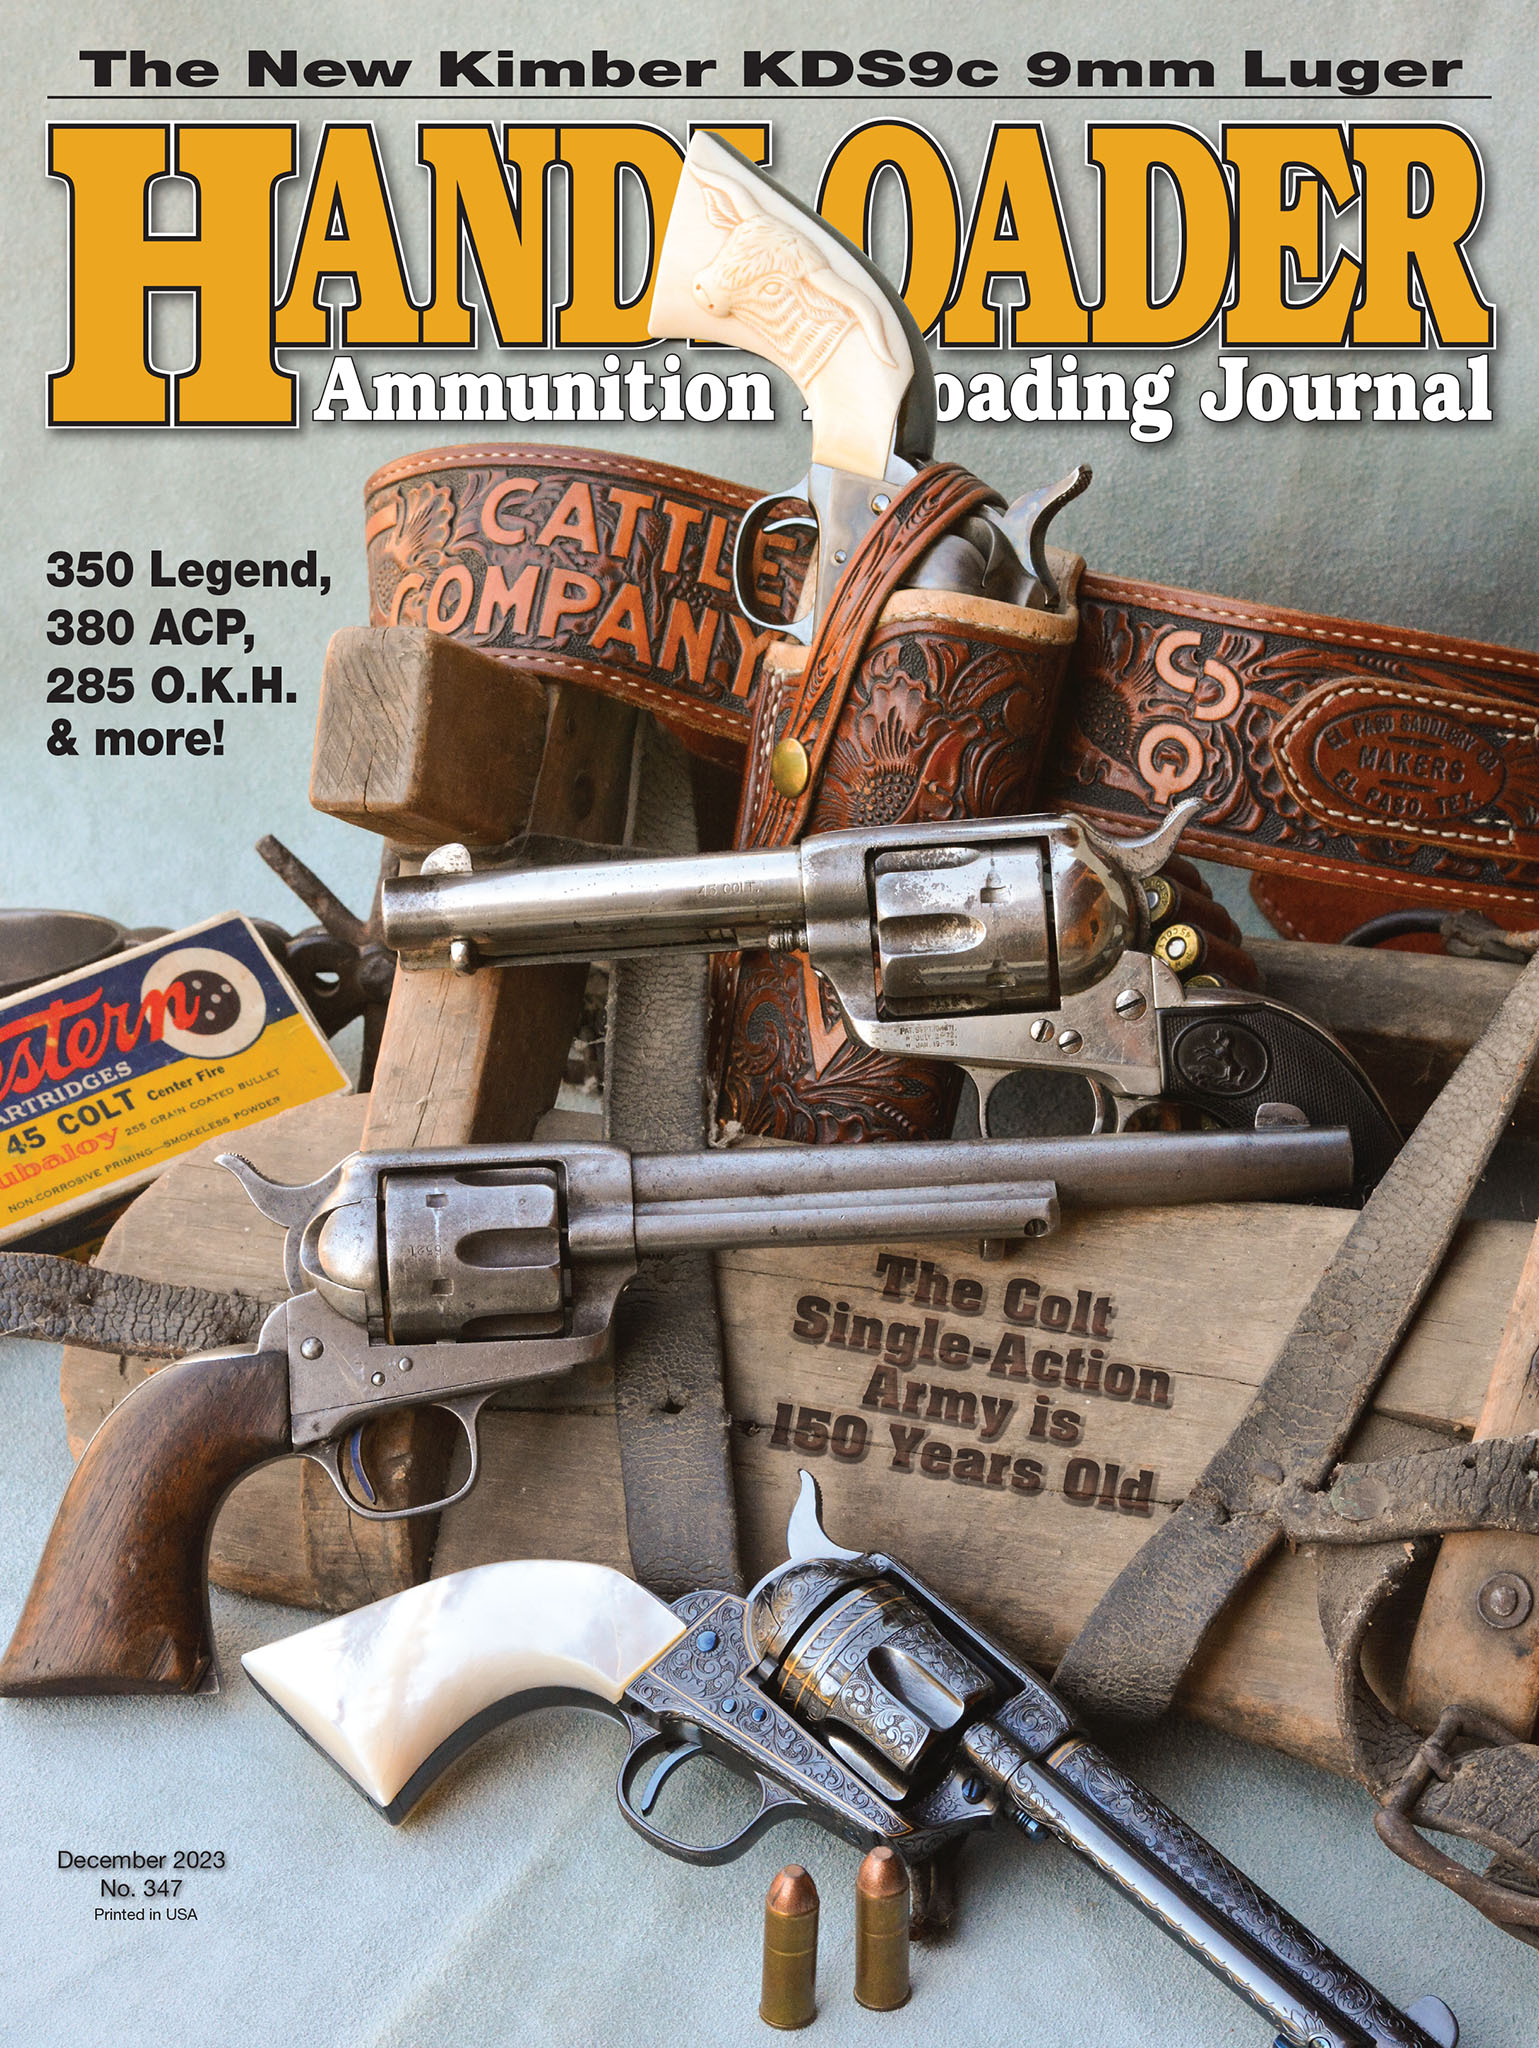
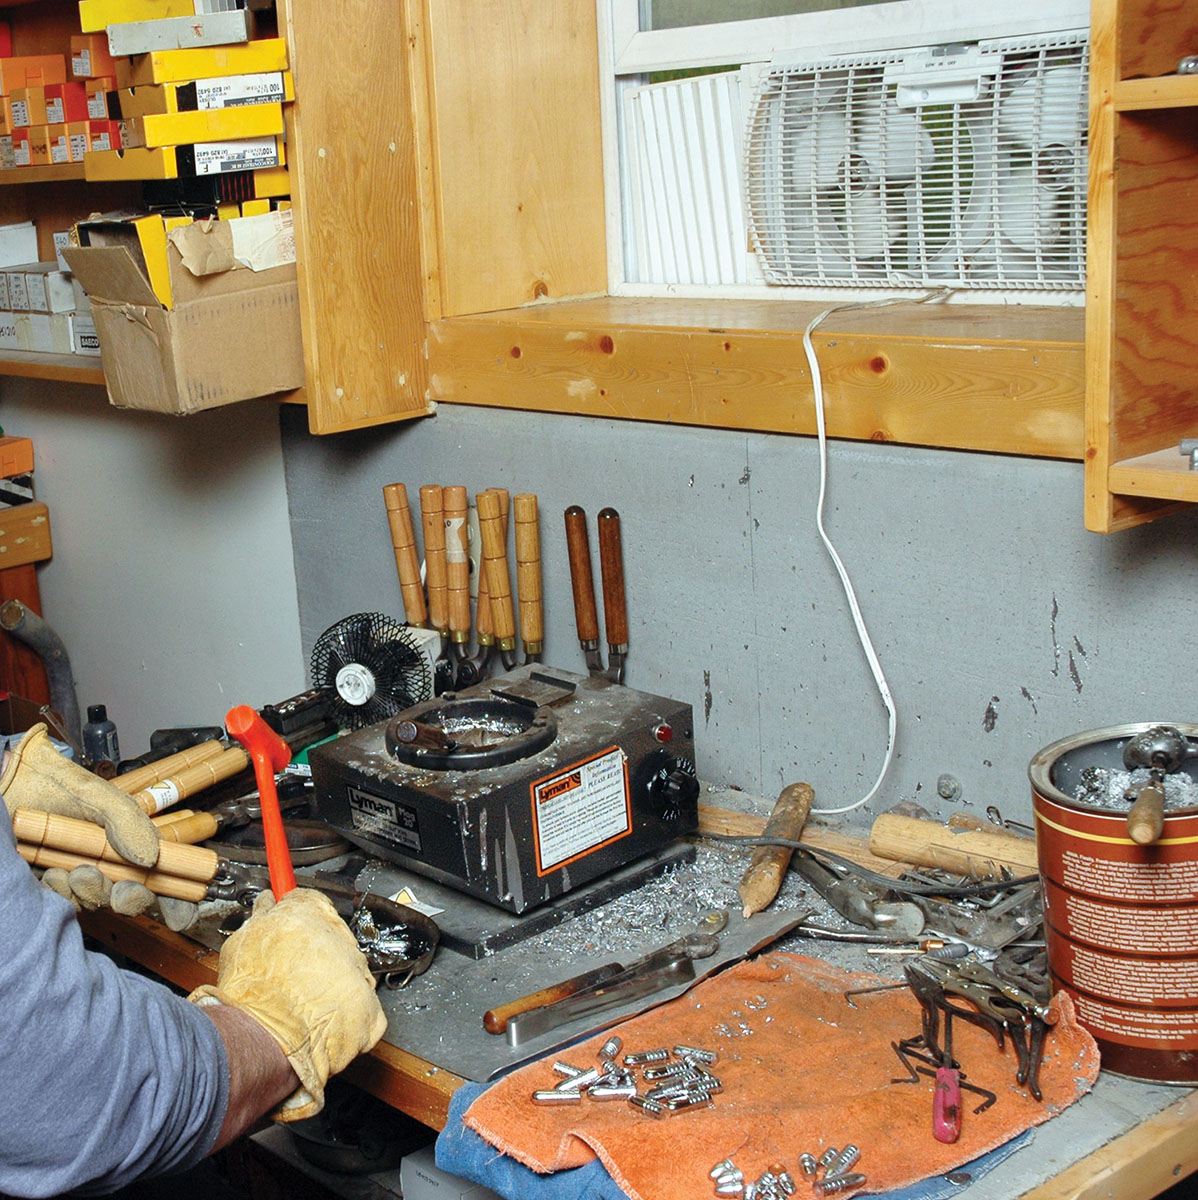
A better idea is to not get lead smears started in the first place. One method for avoidance is letting the sprue cool before cutting. This can be time consuming and I’m too impatient a person to sit and watch calmly. An idea I borrowed from Magma Engineering’s casting machines is a fan blowing a hard stream of cool air before sprue cutting. I keep a manicurist’s fan sitting to the left of my electric furnace. Set the mould in front of it for only a few seconds and the sprue sets up.
There is no sense in ruining good bullets by dropping them straight from mould to a hard surface. Get an old cotton towel or two and fold them so hot bullets land on a cushion. Don’t use some synthetic fabric lest it melt from contact with freshly poured bullets. Also, it’s a good idea to have some small tools handy. I keep a full set of Allen wrenches on my casting bench plus several screwdrivers. For some reason, it seems that no two bullet mould makers use the same screws or pins to connect handles to moulds.
An assortment of sturdy cardboard boxes to collect your brand-new bullets is handy. In another era, we gun writers had to submit black and white photos with our manuscripts, hence most of us had darkrooms. I kept all the boxes that 5x7 photo papers came in and now use them for bullet boxes. I’m sure some office supply stores may have something similar, but again don’t use plastic – at least until bullets have cooled sufficiently. Also, a small tool that I consider indispensable is a set of tweezers. I use them for moving freshly cast bullets into boxes lest my fingertips find one still hot.
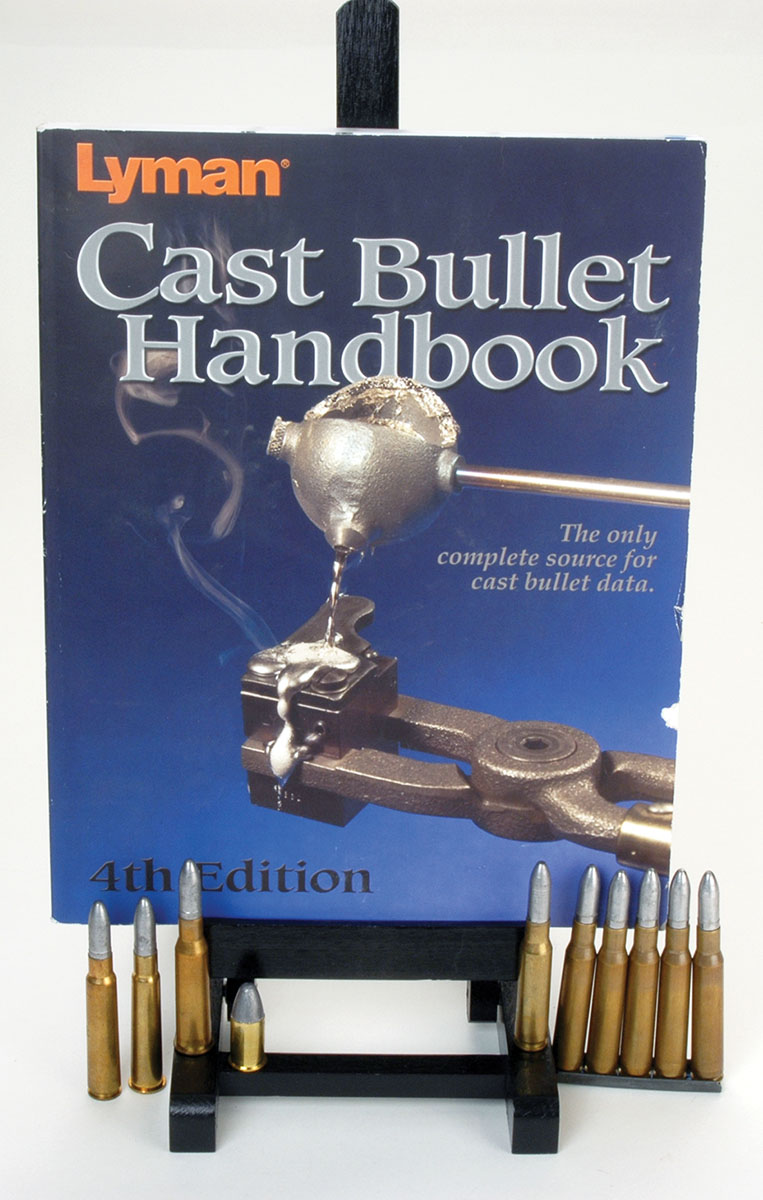
Not mentioned so far are safety concerns. Because they are so important an entire article would be needed to cover them sufficiently. For that, I recommend getting a copy of the Lyman Cast Bullet Handbook 4th Edition. Read it thoroughly and make sure you fully understand casting dangers. I’ve now cast for 57 years and done no major damage to myself or my casting area, but even small bits of molten metal flying about is dangerous.