If you do much handloading, particularly with rifle cartridges, sooner or later you are going to stick a case in a sizing die. The usual culprit is not enough – or no – sizing lube. In order to prevent lube dents in a case shoulder, lube needs to be used sparingly, and you might use too little. Usually this happens when time is short and a handloader is impatient. He figures he can size just one case to load a bullet in a dummy round to adjust the seating die. If the lid on the flat can of wax lube is a little sticky, he can just go ahead without it. Of course there should be enough lube remaining in the die from previous use for just one case. One case turns into two, and before you know it you have ripped out a case rim.
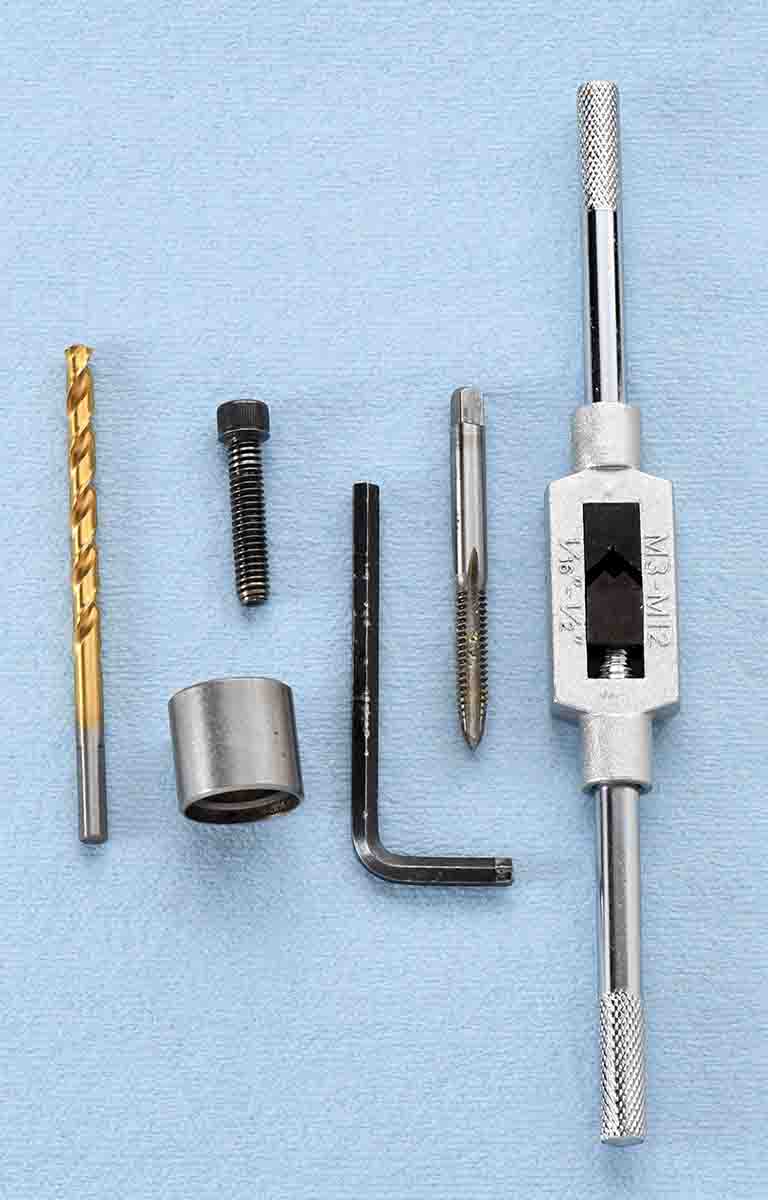
Common tools in a kit for removing stuck cases from sizing dies include a drill bit, steel sleeve with extracting screw or bolt, hex wrench and a tap. A wrench can be purchased separately.
It may be that the wrong shellholder was used, causing the case to be pushed into the die but not extracted. Again, impatience causes a handloader to pick a shellholder that seems okay without checking closely. A shellholder must fit a case’s extractor groove and rim precisely. Some cartridge rims are nearly identical, but not exact. Close might get you by for awhile, but you are risking a stuck case if the proper shellholder is not used. A slightly larger one can cause the edge of a case rim to bend or break so that the shellholder slips off.
In any event, if it happens a handloader is left with a stuck case and cannot use the sizing die. With Murphy’s Law working, it will happen when ammunition is being loaded late at night for a hunting trip the next day. It is almost always a mistake to try to remove the case without a stuck case remover. You are in luck if you have one, and the case can be extracted without damaging the die.
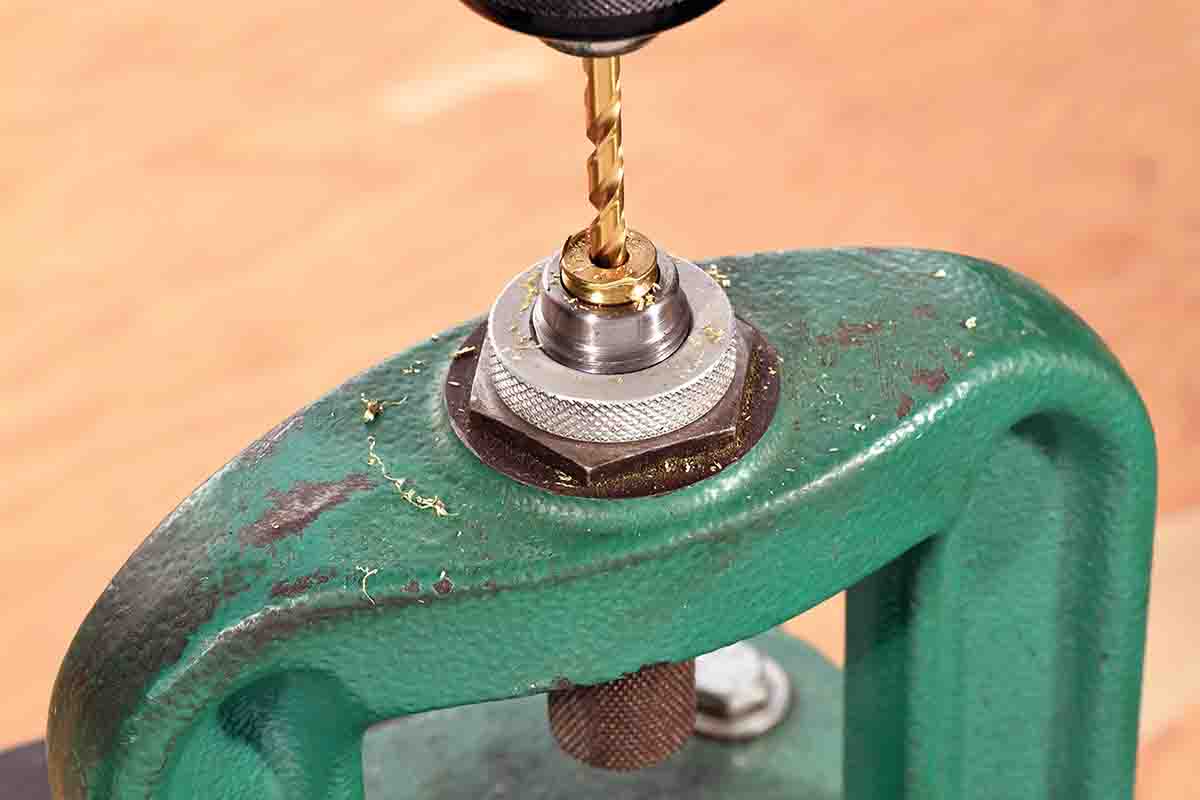
Turn the die with the stuck case into the press frame from the bottom and use the lock ring to secure it in place. Next, drill out the primer pocket with the supplied drill bit.
If you do not have a case remover, get one now before you need it. I have seen them priced between $15 and $30 from RCBS, Hornady, Lyman, Redding, Sinclair and others. They all operate pretty much the same way and include a drill bit, a tap, a hex head cap screw or bolt, a steel sleeve and a hex wrench. Two items are not included in the kits, an electric drill and a tap wrench.
When the rim is broken off, the case is free of the shellholder and the sizing die can be unscrewed from the press. To use a stuck case-removing kit, you first need some means to hold the die securely for drilling, tapping and case extraction. A vise with padded jaws works well, but if the die is for a large-bodied case with thin die walls, be careful not to squeeze the mouth end of the die too tightly in the vise or the sides of the die may collapse. Instead, clamp onto the thicker portion of the die near the top where the decapping rod threads in.
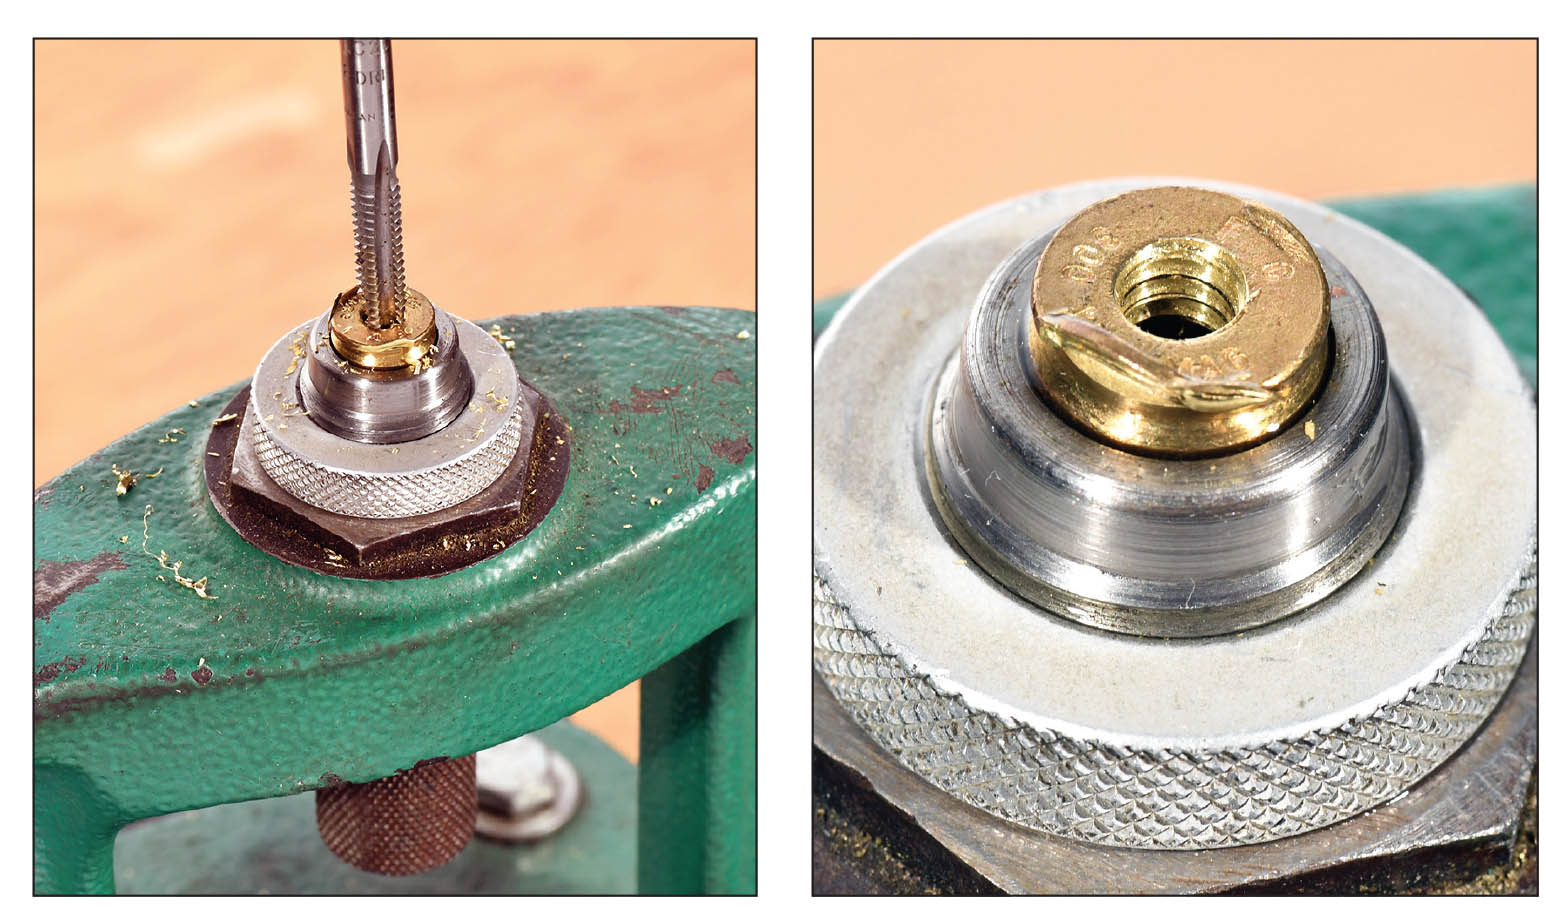
After drilling through the brass web at the bottom of the primer pocket, tap the hole.
If you do not have a vise with padded jaws, use a loading press to hold the die while you work on the stuck case. With the die out of the press, turn the decapping rod out of the die as far as possible to get it out of the way for drilling into the case’s primer pocket.
Next, remove the die’s lock ring and thread the die into the press frame upside down from the bottom. You can then use the die’s lock ring on top of the frame to keep the die from rotating. Lock rings with flats for a wrench work best for this procedure so that the lock ring can be tightened with a wrench, using more torque than can be applied with mere finger pressure on a knurled lock ring. The die tends to rotate in the press frame when drilling and tapping the case, so the lock ring needs to be snugged up securely.
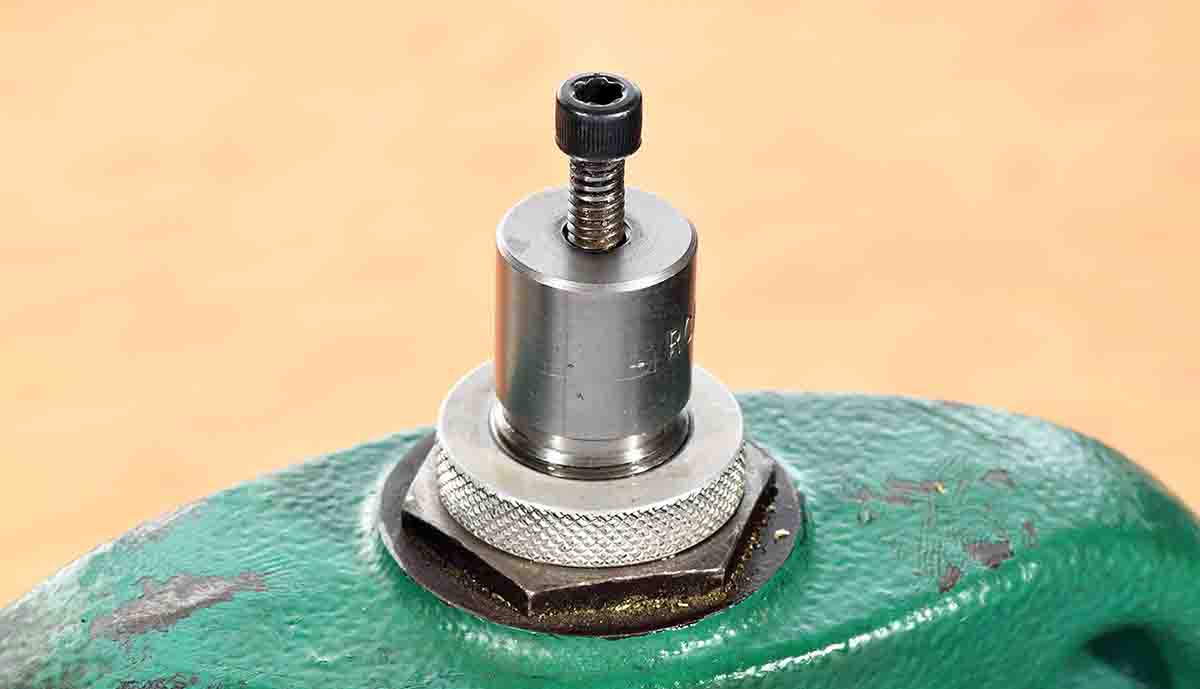
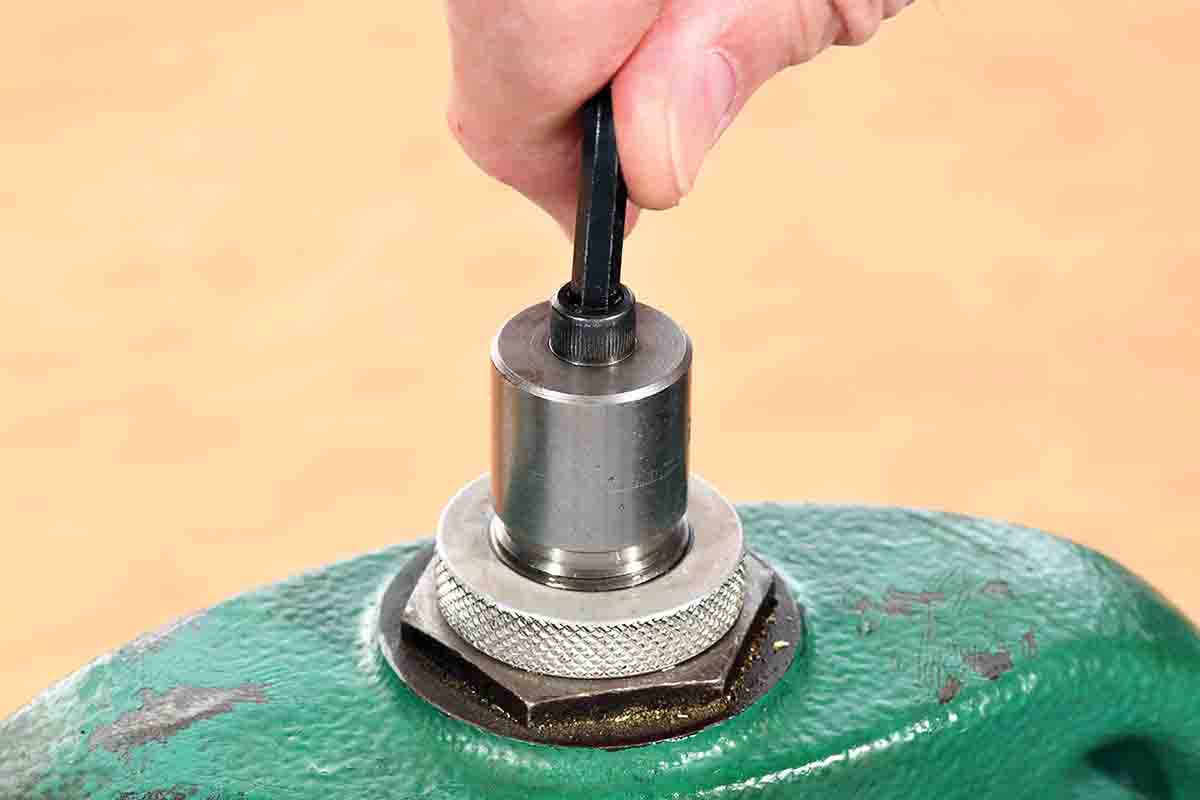
Place the steel sleeve over the base of the case with the small hole up. Pass the bolt or screw through the sleeve and turn it into the now-threaded recess in the primer pocket.
The next step is to use the supplied bit in a conventional electric drill to cut through the thin web section at the bottom of the primer pocket. The drill bit supplied in the kit should cut the case web to the same diameter as the primer pocket. The flash hole and primer pocket keep the drill bit tip on center for starting the hole. A variable-speed electric drill works best because a relatively slow bit rotation is required to cut into the brass. If the bit does not cut into the brass, it is probably rotating too fast.
A hex wrench is used to turn the hex head cap screw to extract the case from the die.
Without a lock ring with flats for a wrench as mentioned above, the die may rotate in the press frame as mentioned. If so, use a rag or paper towel with your free hand to grip the die’s knurled body from below. Next, cut threads into the newly drilled hole and primer pocket with the supplied tap using your own tap wrench. Start the tap carefully to make sure that it starts in straight. Use a little oil to ease the thread cutting.
The press ram should be lowered out of the way while doing all the above. This usually means that the press ram handle is raised and is susceptible to dropping, raising the ram violently. This can really hurt if your hand is in the way, or a die could be damaged. To prevent this, place your body against the ram handle, or next to it, so that the handle cannot drop.
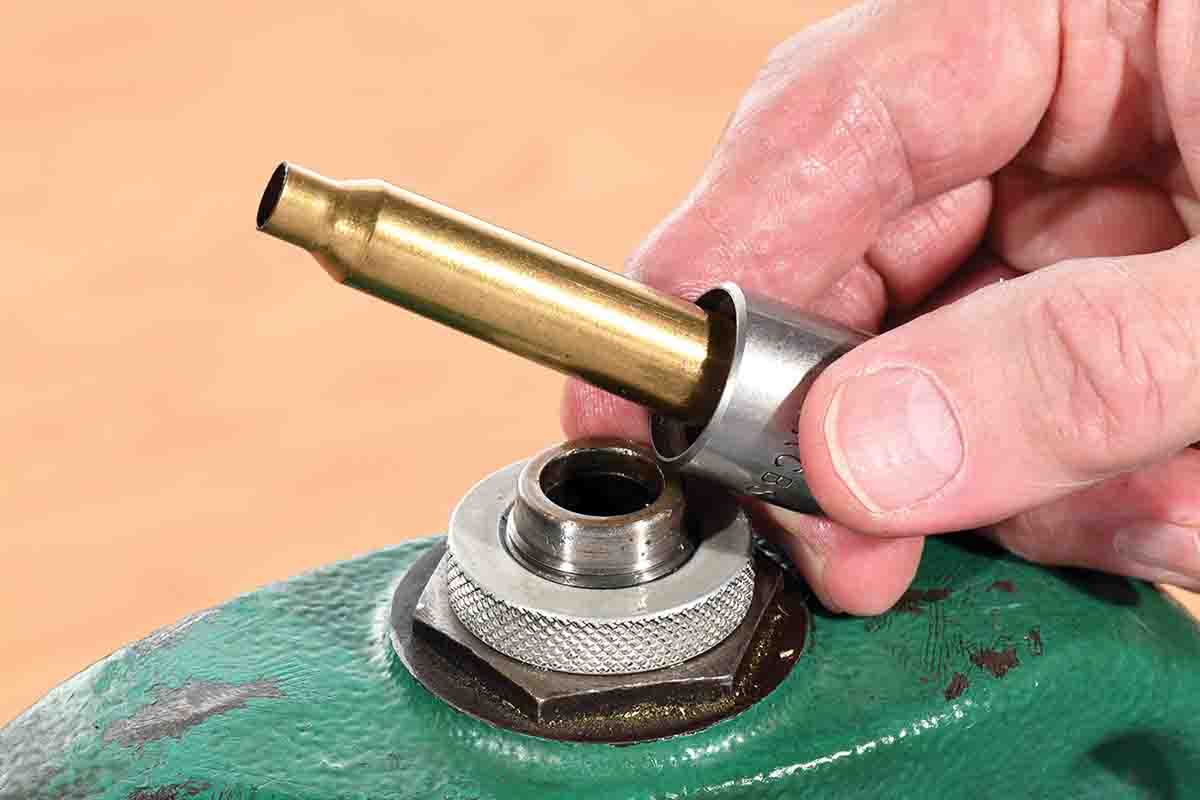
With the bolt and sleeve still attached, the case has been extracted.
Once the hole is threaded, place the steel sleeve over the base of the case with the small hole up. The larger recess in the other end of the sleeve permits the case to be extracted up into the sleeve as the bolt is tightened. Pass the bolt or hex head cap screw through the hole (oil on the threads can help) and turn it into the now-threaded primer pocket. Use a wrench to tighten the bolt, pulling the case from the die. With the case out of the die, unscrew the bolt from the primer pocket and discard the brass case.